 PhoneBridger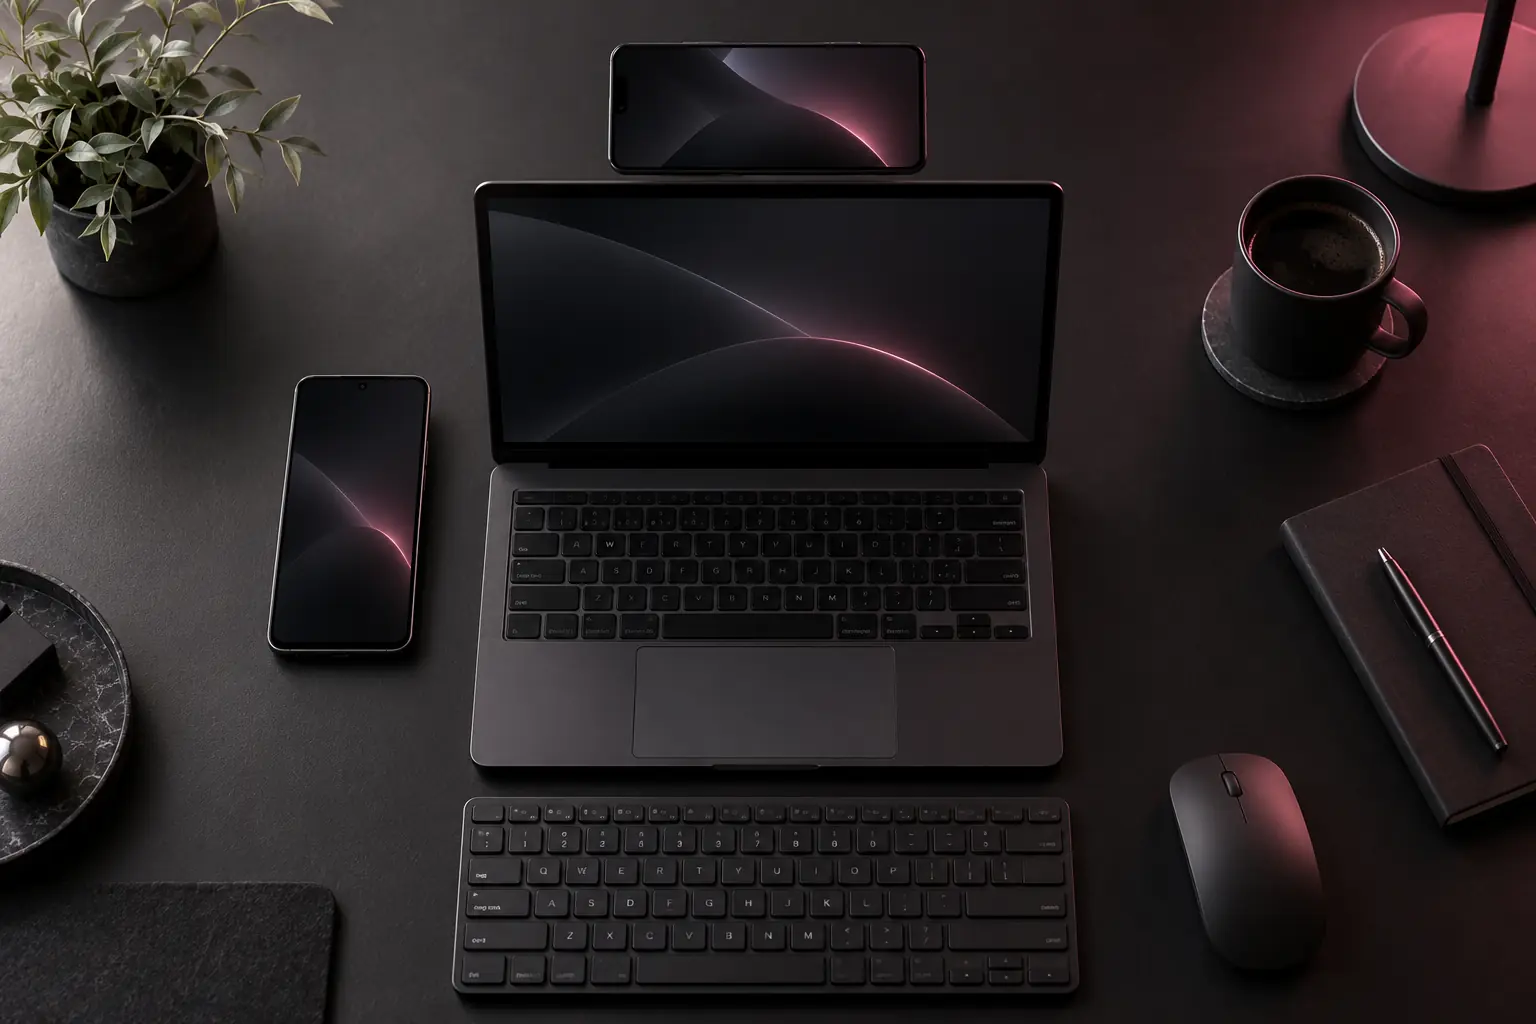
Start from the physical arrangement
Keep the phone screen visible and within a comfortable viewing position. If it sits on the left of the PC screen, select Left; if it sits on the right, select Right; if it sits above the PC screen, select Above. The setting describes your desk arrangement, not the phone’s USB port or its Wi-Fi address.
A magnetic holder is optional. A suitable existing phone stand can work too. Mount compatibility, attachment and stability depend on your actual phone, case and laptop; do not assume the website illustration guarantees a particular fit.
Position and transition zone are different choices
Position chooses the side of the PC associated with that phone. The transition zone chooses the area of that screen edge you cross to enter it. Use the Windows app’s zone editor and test the visible area rather than treating the entire edge as an accidental trigger.
Leave a zone that makes sense alongside other windows or monitors you use. This guide does not prescribe new sensitivity, movement timing or cursor tuning; it uses the app’s existing controls.
Make one simple check
- Connect one approved phone and open a harmless app screen on it.
- Check the phone’s actual placement and choose the matching Left, Right or Above position in Windows.
- Check the selected transition zone.
- Move deliberately through that part of the PC screen edge. Verify that the phone is the screen you intended to enter.
- Use Ctrl + Alt + S to return to Windows. Make one click and one scroll in a harmless screen before using your normal apps.
If you enter the wrong place or cannot enter
- Check that the phone is connected and approved; a saved position is not evidence of an active connection.
- Check which phone you selected in the Windows device view.
- Check the chosen position against the actual desk, then check the transition-zone area.
- Check mouse-control permission on Android separately.
- If the phone was rotated, compare its visible orientation and the app’s current state. Describe an unresolved mismatch to support instead of experimenting with unrelated settings.
Adding a second or third phone
Add one phone at a time and give each its intended place. For example, a portrait phone on the left and a landscape phone above the PC are two different positions. The illustration is an arrangement example, not a statement that your device orientation or mount has been tested.
Keep the same basic check for every phone: connected status, correct selected device, matching physical position and intended transition zone. The beta can configure up to three Android phones; one may use physical USB while others use Wi-Fi. Three positions do not imply three physical USB connections.
Returning after a connection switch
USB and Wi-Fi share the same settings. When the connection changes, control returns to Windows; cross the configured edge again when the saved phone reconnects. An unavailable Wi-Fi network after unplugging a cable cannot be solved by changing the phone’s position.
Make the arrangement comfortable
Choose a stable surface and keep the phone visible without covering the laptop’s vents or controls. Avoid a placement that pulls on the cable or makes the screen difficult to read. The right arrangement is the one you can use consistently; the app-only option lets you start with the stand you already have.
If you need help, include the phone position, orientation, app versions and a simple sketch of the desk. Leave account credentials and private phone screens out of that sketch.
Product steps checked against the current release documentation on 6 October 2026. This private preview records a prepared editorial edition; it is not a past public publication. Review method & corrections.